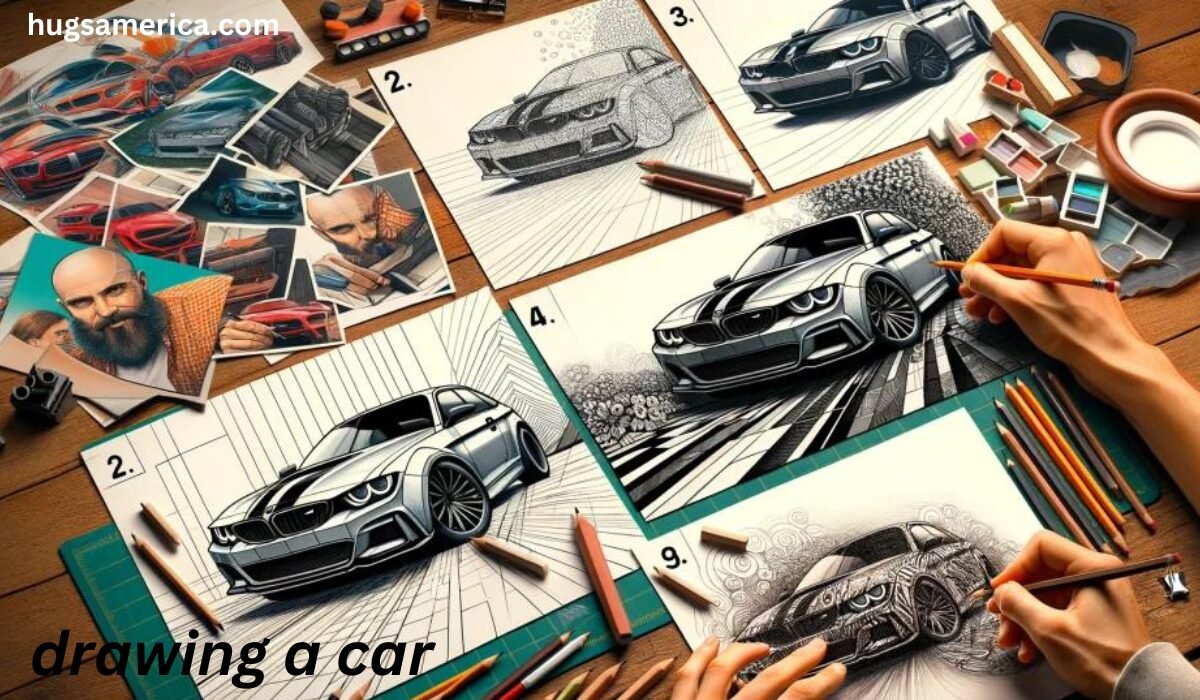
Introduction To Drawing a Car
Drawing a car can be a tomfoolery and remunerating experience, whether you’re a fledgling or an accomplished craftsman. This guide will assist you with figuring out the essentials of drawing a vehicle, from portraying the layout to adding subtleties and concealing. We should make a plunge and figure out how to attract a vehicle the easiest way imaginable.
Materials You Really want
Before you begin drawing, assemble these materials:
A piece of paper
Pencils (HB and 2B)
Eraser
Ruler
Shaded pencils or markers (discretionary)
Stage 1: Draw the Framework of the Car
Draw a Square shape: Begin by attracting a huge square shape the center of your paper. This will be the body of the car.
Add the Rooftop: On top of the square shape, draw a more modest square shape or trapezoid. This will be the top of the car.
Wheels: Draw two circles at the lower part of the enormous square shape. Ensure they are equitably dispersed and about a similar size. These are the car’s wheels.
Stage 2: Characterize the car’s Shape
Frame the Front and Back: At the front of the vehicle, draw a more modest square shape for the front guard. Do likewise at the back for the back guard.
Associate the Wheels: Define two boundaries from the highest point of each wheel to the lower part of the vehicle’s body. This will shape the wheel wells.
Refine the Shape: Smooth out the sides of the car’s body, making it more streamlined and less square shaped.
Stage 3: Add Subtleties
Windows: Draw square shapes or trapezoids on the sides of the vehicle for the windows. Remember the windshield and back window.
Entryways: Add lines to show where the entryways are. Commonly, there will be a couple of entryways on each side.
Headlights and Taillights: Draw little circles or square shapes on the front and back of the car for the headlights and taillights.
Grille and Guards: Add flat or vertical lines at the front for the grille. Draw the guards with more detail, including any bends or shapes.
Mirrors: Draw little square shapes or ovals on the sides of the vehicle for the side mirrors.
Stage 4: Concealing and Shading
Conceal the Wheels: Utilize a hazier pencil (like 2B) to conceal in the wheels, leaving a little white circle in the center for the hubcap.
Conceal the Windows: Gently conceal the windows to give them an intelligent look. Utilize even strokes for a more sensible impact.
Add Shadows: Shade the regions under the vehicle, around the wheels, and whatever other parts that sounds more obscure, truly.
Shading (Discretionary): Assuming that you have hued pencils or markers, you can variety your car. Pick a variety for the body, windows, and wheels. Remember to add subtleties like brake lights and headlights in their separate tones.
Tips for Drawing a Car
Use References: Take a gander at pictures of cars to find out about the shapes and subtleties.
Take as much time as is needed: Drawing a vehicle can be complicated, rush don’t as well. Take as much time as is needed to get the subtleties right.
Practice: The more you practice, the better you’ll get. Have a go at drawing various sorts of vehicles to work on your abilities.
Normal Mix-ups to Keep away from
Extents: Ensure the wheels are the right size contrasted with the body. Too huge or too little wheels can make the vehicle look unreasonable.
Balance: Guarantee the two sides of the car are even. Utilize a ruler to really take a look at your lines.
Subtleties: Don’t avoid the little subtleties like entryway handles, mirrors, and lights. These make your drawing look more reasonable.
YOU MAY ALSO LIKE
Minecraft Schooling: A Fun and Engaging Learning Tool
Conclusion
Drawing a car could appear to be trying from the get go, however with persistence and practice, you can make an incredible piece of workmanship. Make sure to begin with straightforward shapes, add subtleties steadily, and practice consistently. Before long, you’ll have the option to draw vehicles with certainty and imagination.
FAQs About Drawing a Car
- How would I draw a car for novices?
Begin with essential shapes like square shapes and circles to frame the body and wheels. Add subtleties progressively, like windows, entryways, and headlights. Practice consistently. - What materials do I have to draw a car?
You’ll require a piece of paper, pencils (HB and 2B), an eraser, a ruler, and alternatively, shaded pencils or markers for adding variety. - How might I make my car drawing look more reasonable?
Use references, guarantee legitimate extents and balance, add little subtleties like entryway handles and mirrors, and apply concealing to make profundity and shadows. - How might I further develop my car drawing abilities?
Practice routinely, use references from genuine car, and begin with basic shapes prior to adding more mind boggling subtleties. Take as much time as necessary to consummate each step. - Might I at any point draw various sorts of cars utilizing a similar technique?
Indeed, you can apply similar essential moves toward draw various sorts of cars. Simply change the shapes and subtleties as per the particular car model you’re drawing.